3. In depth processes
This tutorial goes further into processes, using a new data set about leads, opportunities and quotes. You:
- Create a process with Opportunity as the leading object.
- Add an attribute to an object.
- Use that attribute in a process attribute.
- Export the code for the process.
- Export the blueprint.
Step 0: Prepare your second training workspace
These steps repeat what you did in steps 1 and 2 of the Fast track.
- Open the workspace Tutorial 3 & 4 - your user name. If you do not have a training account yet, see Create a training account.
- Download the zip file and unzip it. In Sources, select + Source → File upload, drop the ten files, select Apply to all, then Import 10 tables.
- Download the blueprint. On the Dashboard, open the blueprint menu next to … and select Load blueprint. Drop the file, select Map sources, choose File uploads and select Load blueprint.
Step 1: Process all assets
- Select Event store in the sidebar.
- Select Process all assets and confirm with Reload assets.
Wait until every object and activity shows Processed.
Step 2: Create a process
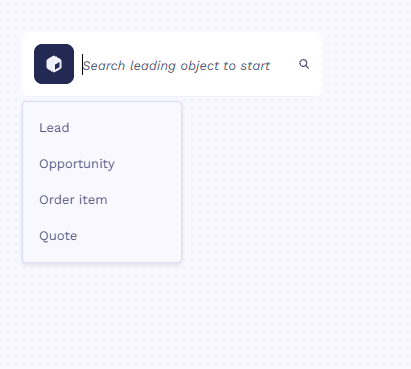
- Select Processes in the sidebar, then + Process.
- Choose Opportunity as the leading object. The process is named Opportunity process
automatically.
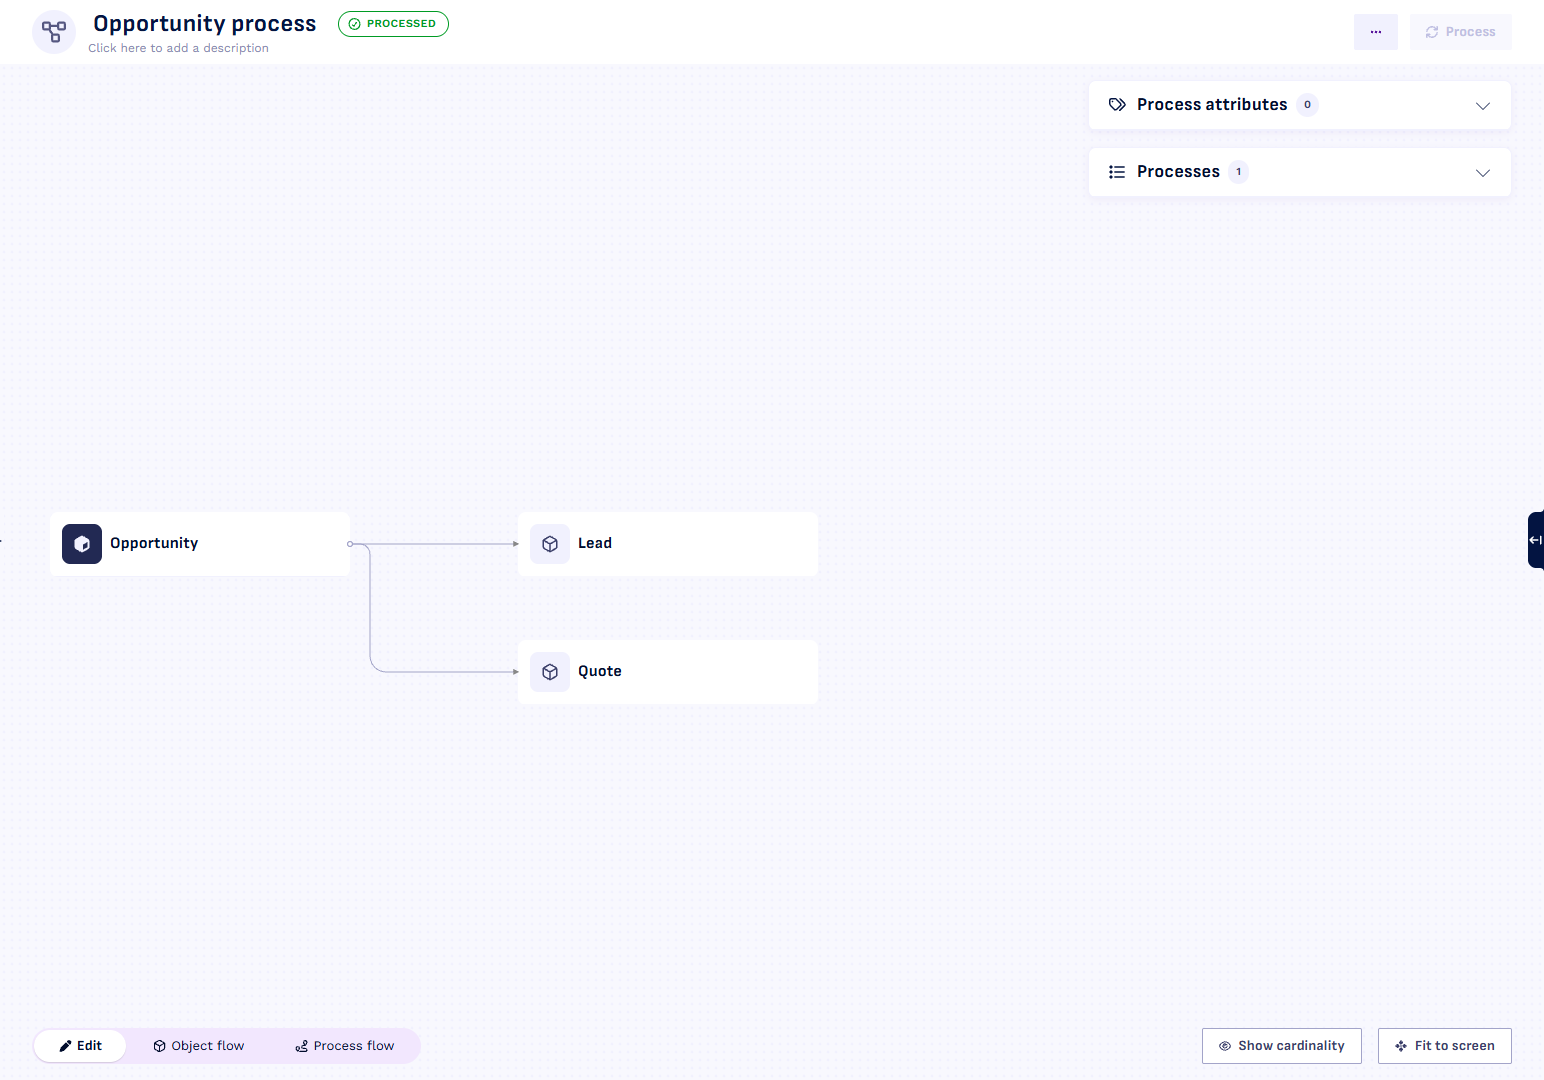
- Select the + on the Opportunity node and choose Lead. Repeat for Quote.
- Select Process and wait until the status shows Processed.
Step 3: Add an attribute to an object
The process attribute in the next step uses a lead's rating, so Lead needs that attribute first.
- Select Event store in the sidebar and open Lead.
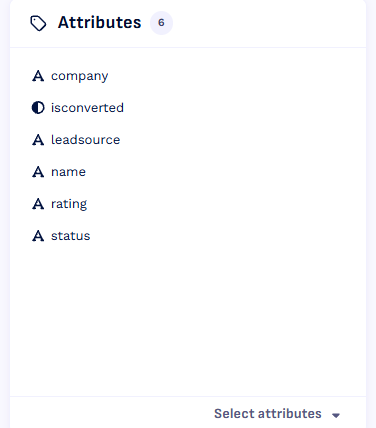
- In the Attributes panel, open Select attributes, search for
ratingand tick it. - Select Reprocess changes.
- Select Processes in the sidebar, open Opportunity process and select Process.
Step 4: Add a process attribute
You want to know how many opportunities had a lead that was rated Cold at some point and still ended with an accepted quote. A Tag process attribute marks each case as true or false for that question.
- Open the Process attributes panel on the right and select + Process attribute.
- Choose Tag.
- Enter Lead-Cold-To-Accepted as the name. The Description is optional.
The query starts with And selected, so every filter at the top level has to be true.
Add the first filter
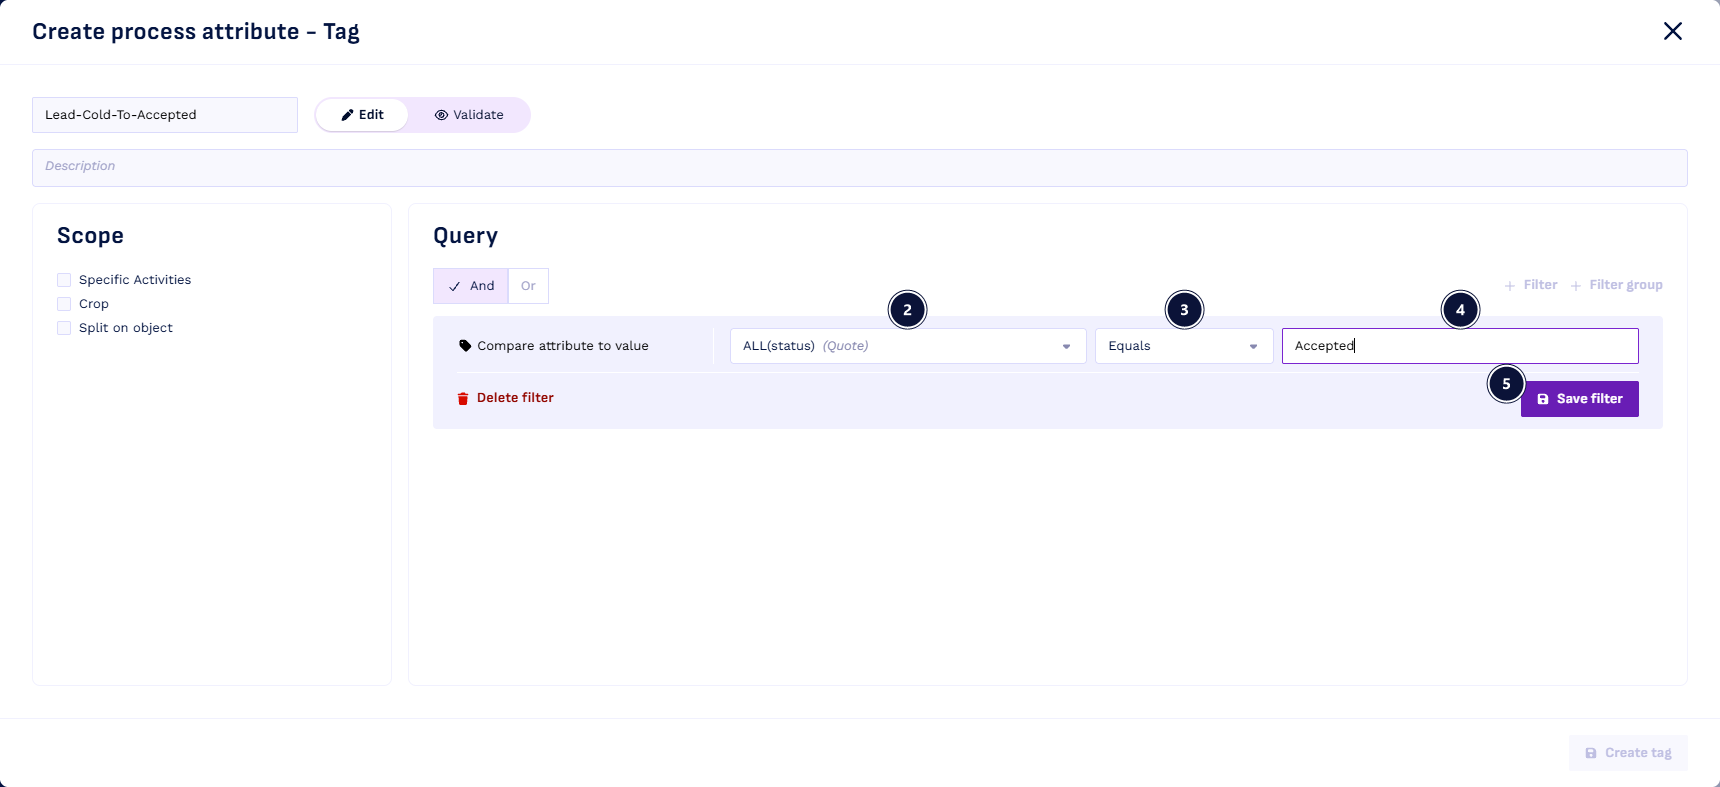
- Select + Filter and choose Compare attribute to value.
- For the attribute, choose ALL of specific asset → Quote → status.
- For the operator, choose Text comparators → Equals.
- Enter Accepted.
- Select Save filter.
Add a filter group
The group is true when either of its two filters is true.
- Select + Filter group and switch the group to Or.
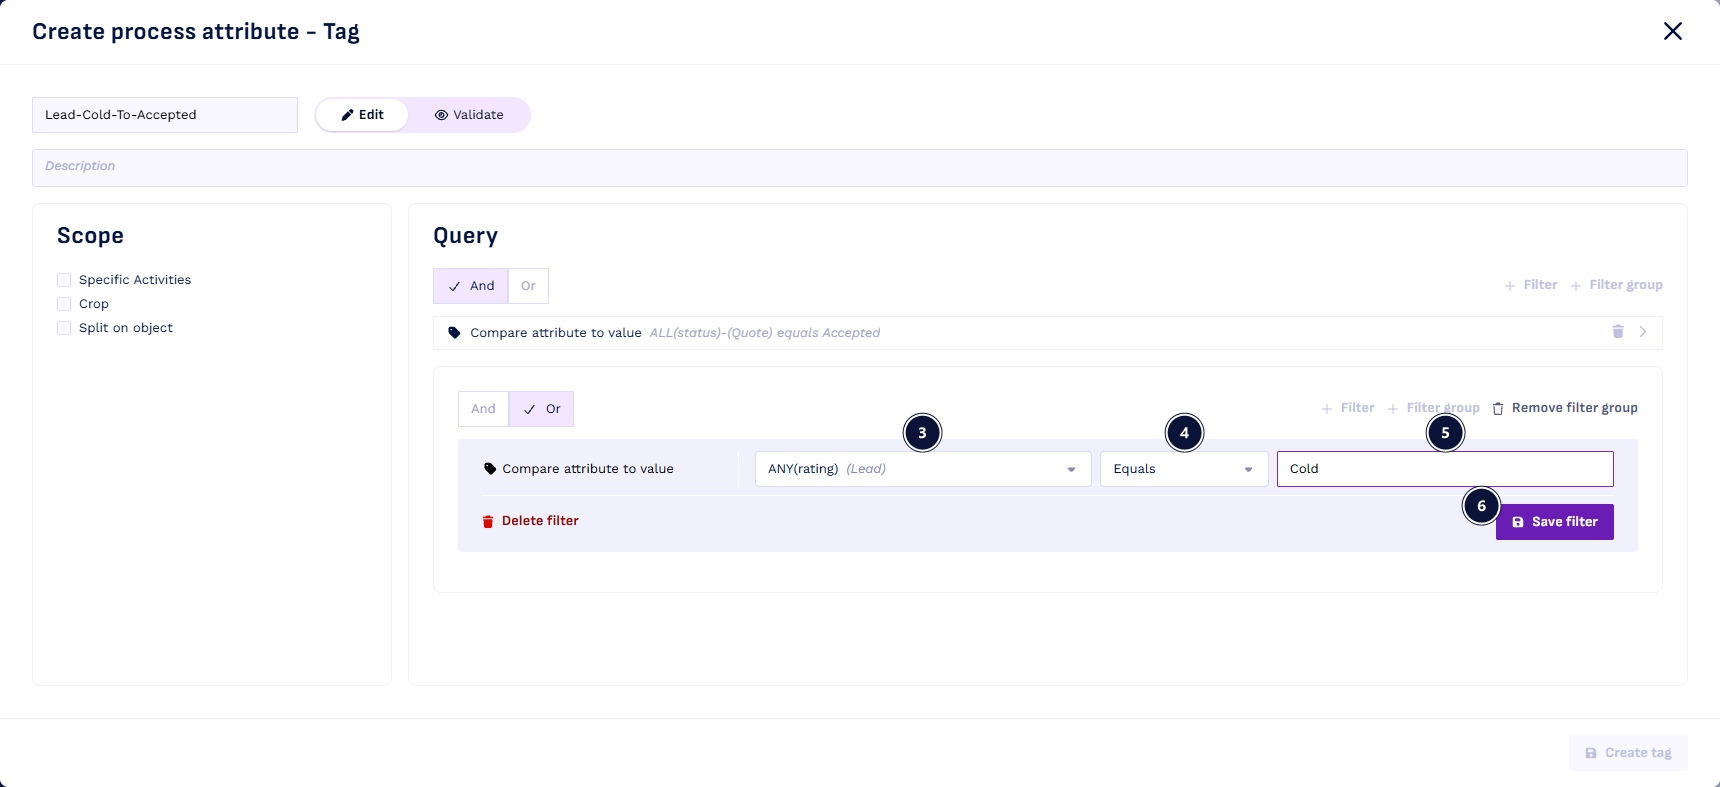
- In the group, select + Filter and choose Compare attribute to value.
- For the attribute, choose ANY of specific asset → Lead → rating.
- For the operator, choose Text comparators → Equals.
- Enter Cold.
- Select Save filter.
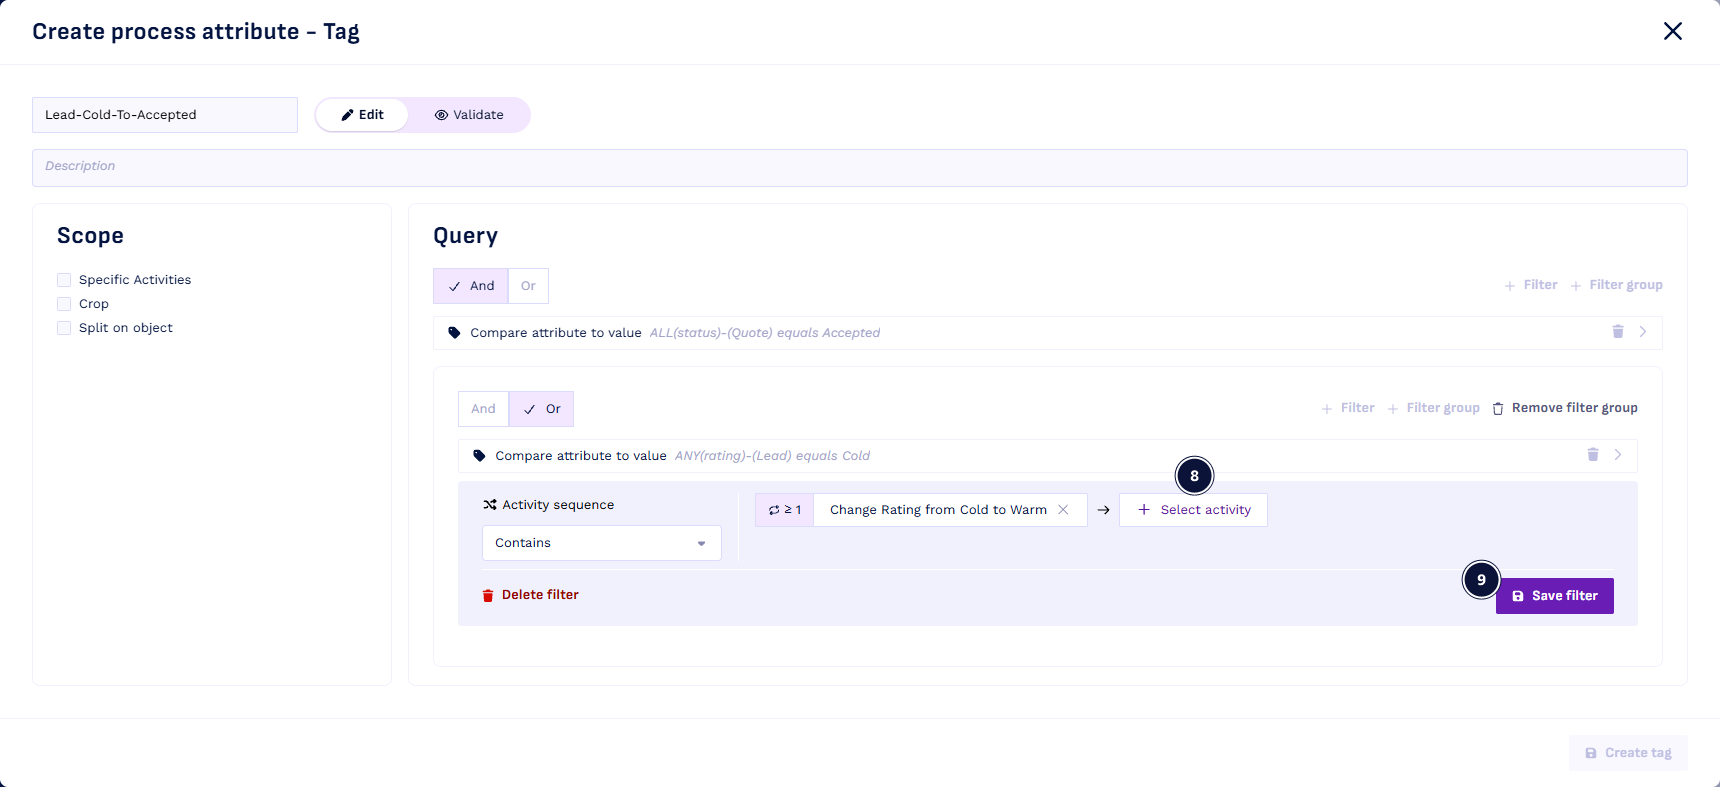
- In the group, select + Filter again and choose Activity sequence.
- Select + Select activity, search for Change Rating from Cold to Warm and tick it.
- Select Save filter.
Check and create the tag
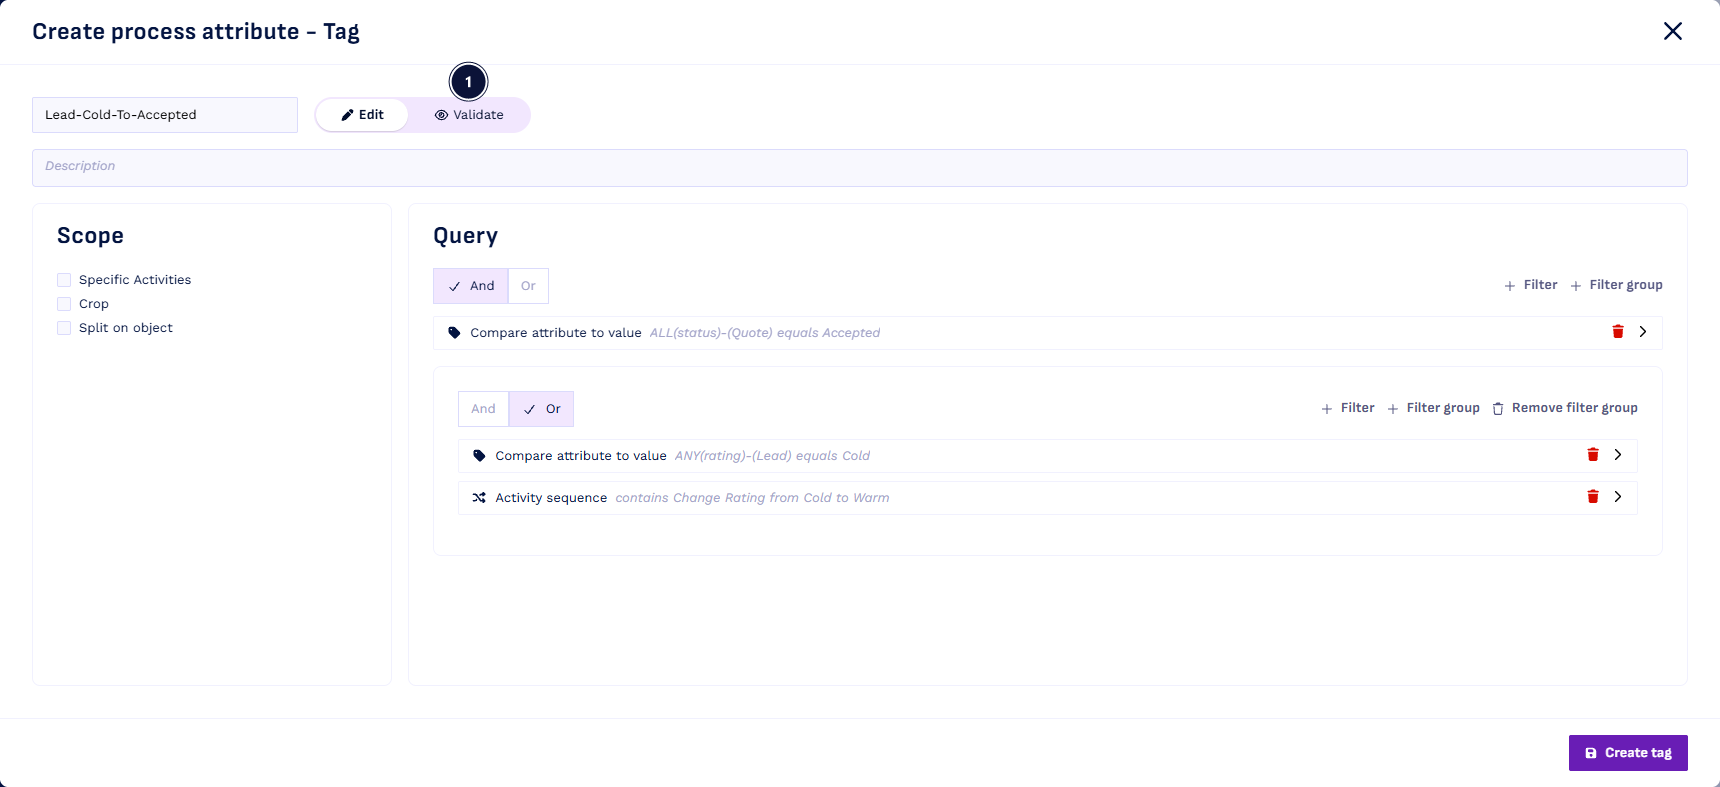
Your filters now look like this:
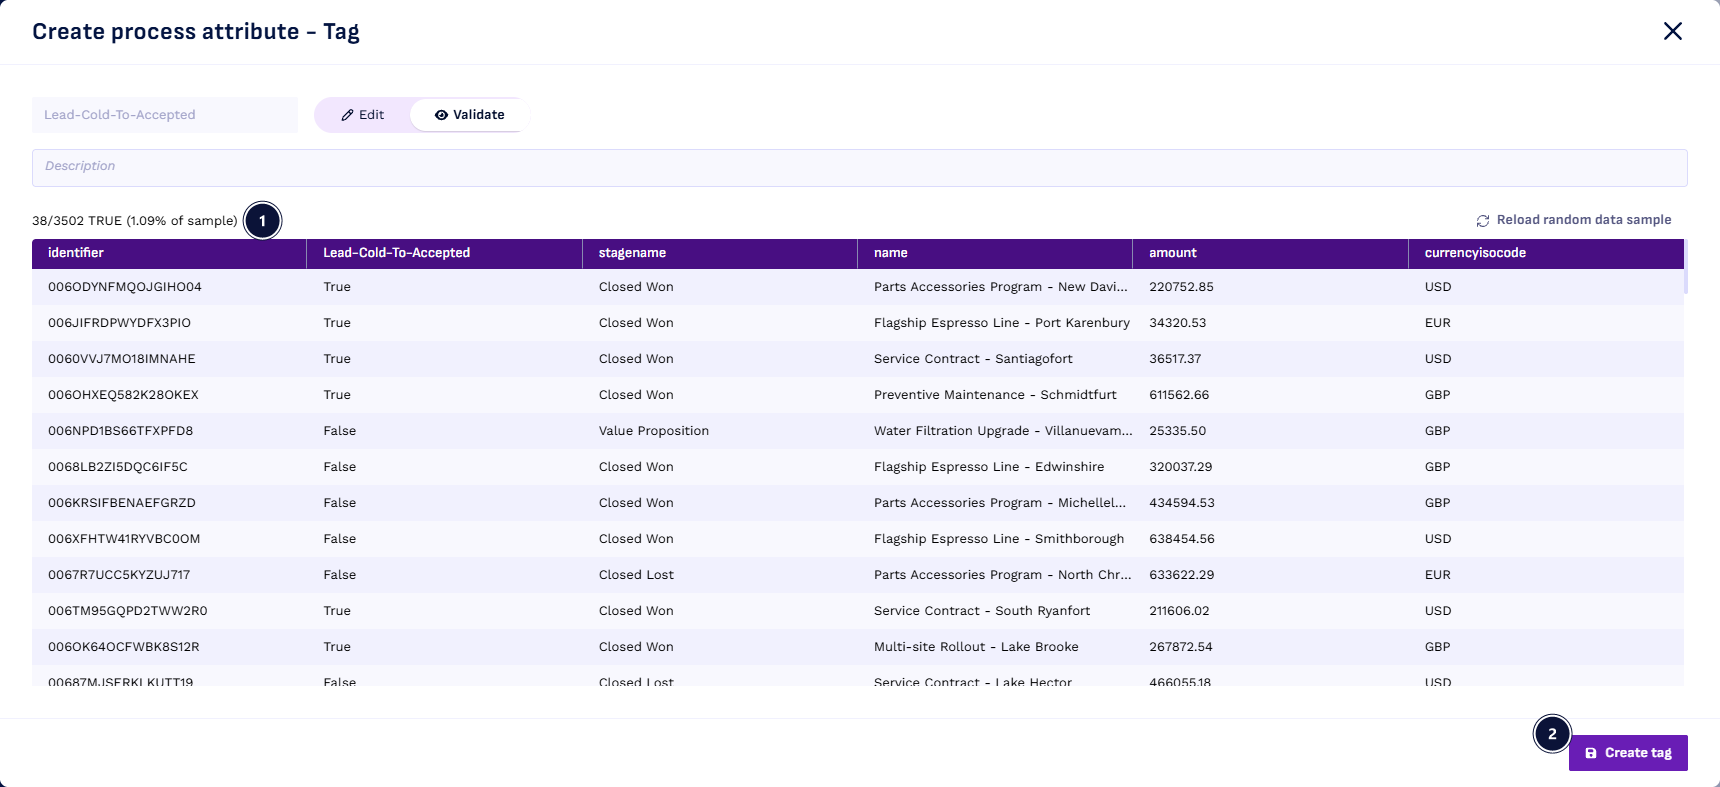
- Switch to Validate at the top of the dialog. The count above the table shows how many cases in the sample are true, here 38/3502 TRUE, and the Lead-Cold-To-Accepted column shows the value per case.
- Select Create tag.
- Select Process and wait until the status shows Processed.
Step 5: Check the tag in Object flow
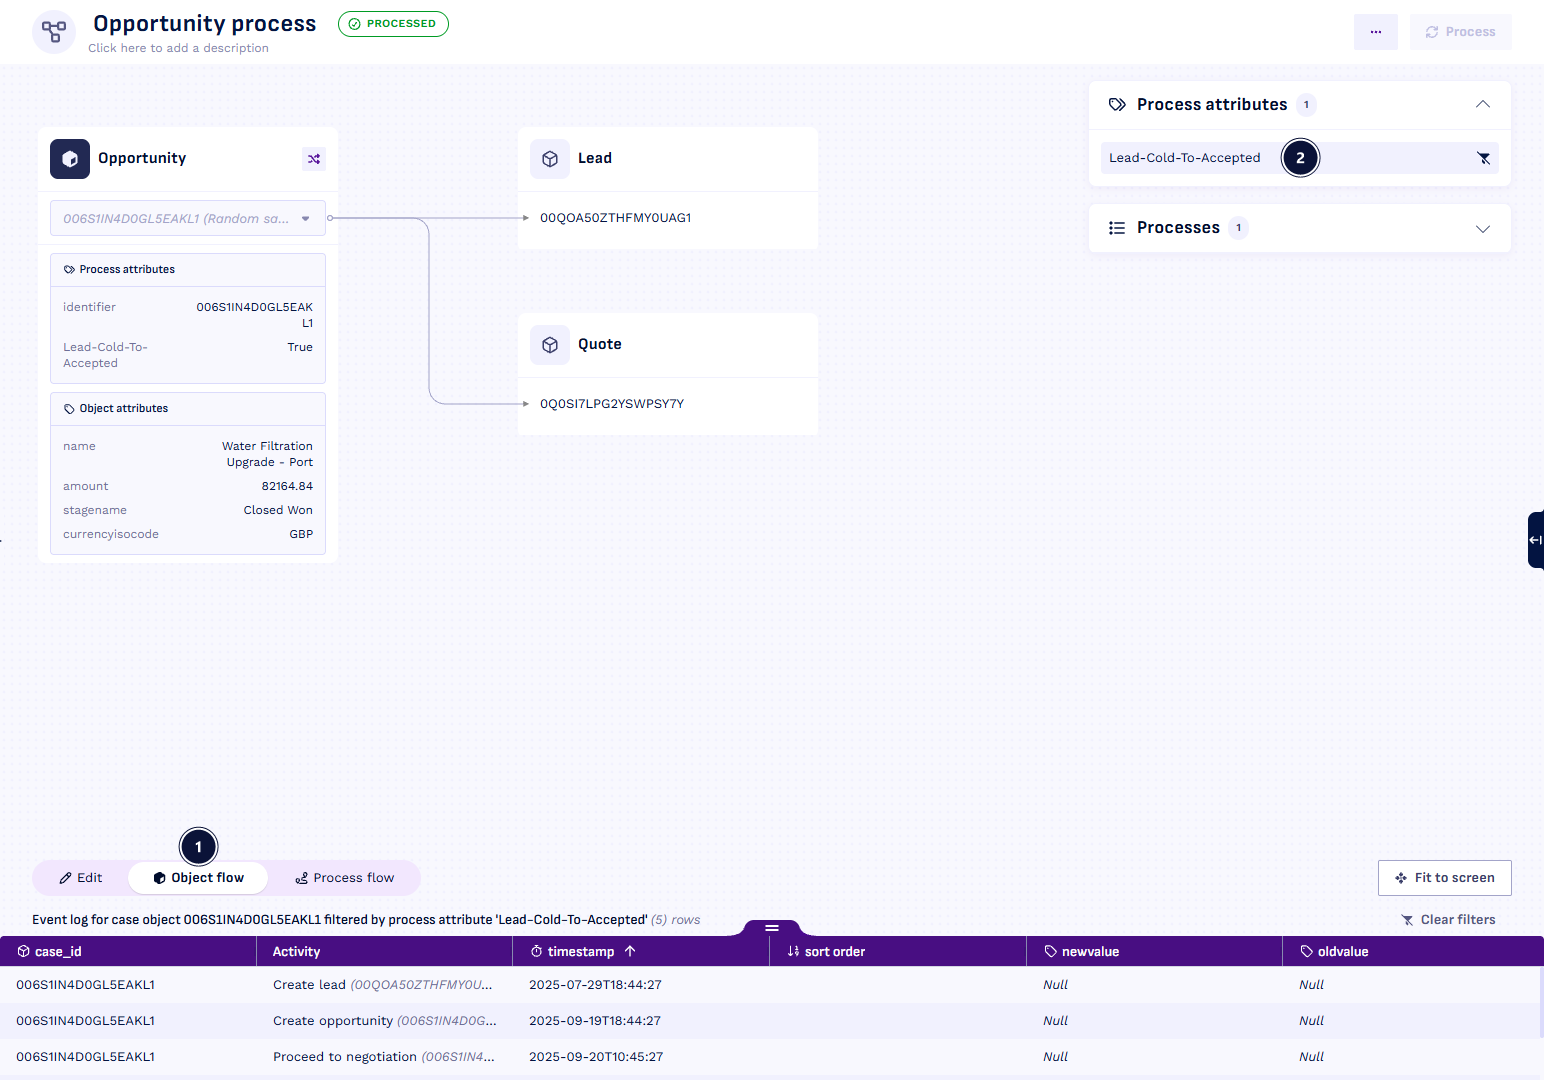
- Switch to Object flow at the bottom of the process.
- In the Process attributes panel, select Lead-Cold-To-Accepted. The process now only shows cases where the tag is true.
The Opportunity node shows Lead-Cold-To-Accepted as True for the case on screen, and the event log below it is filtered by the process attribute. Use the shuffle button to look at another case.
Step 6: Export code
- Select Export in the sidebar, then + Export config. The Download code dialog opens.
- Set Script type to
Spark. The Processes list shows Opportunity process. - Select Download code.
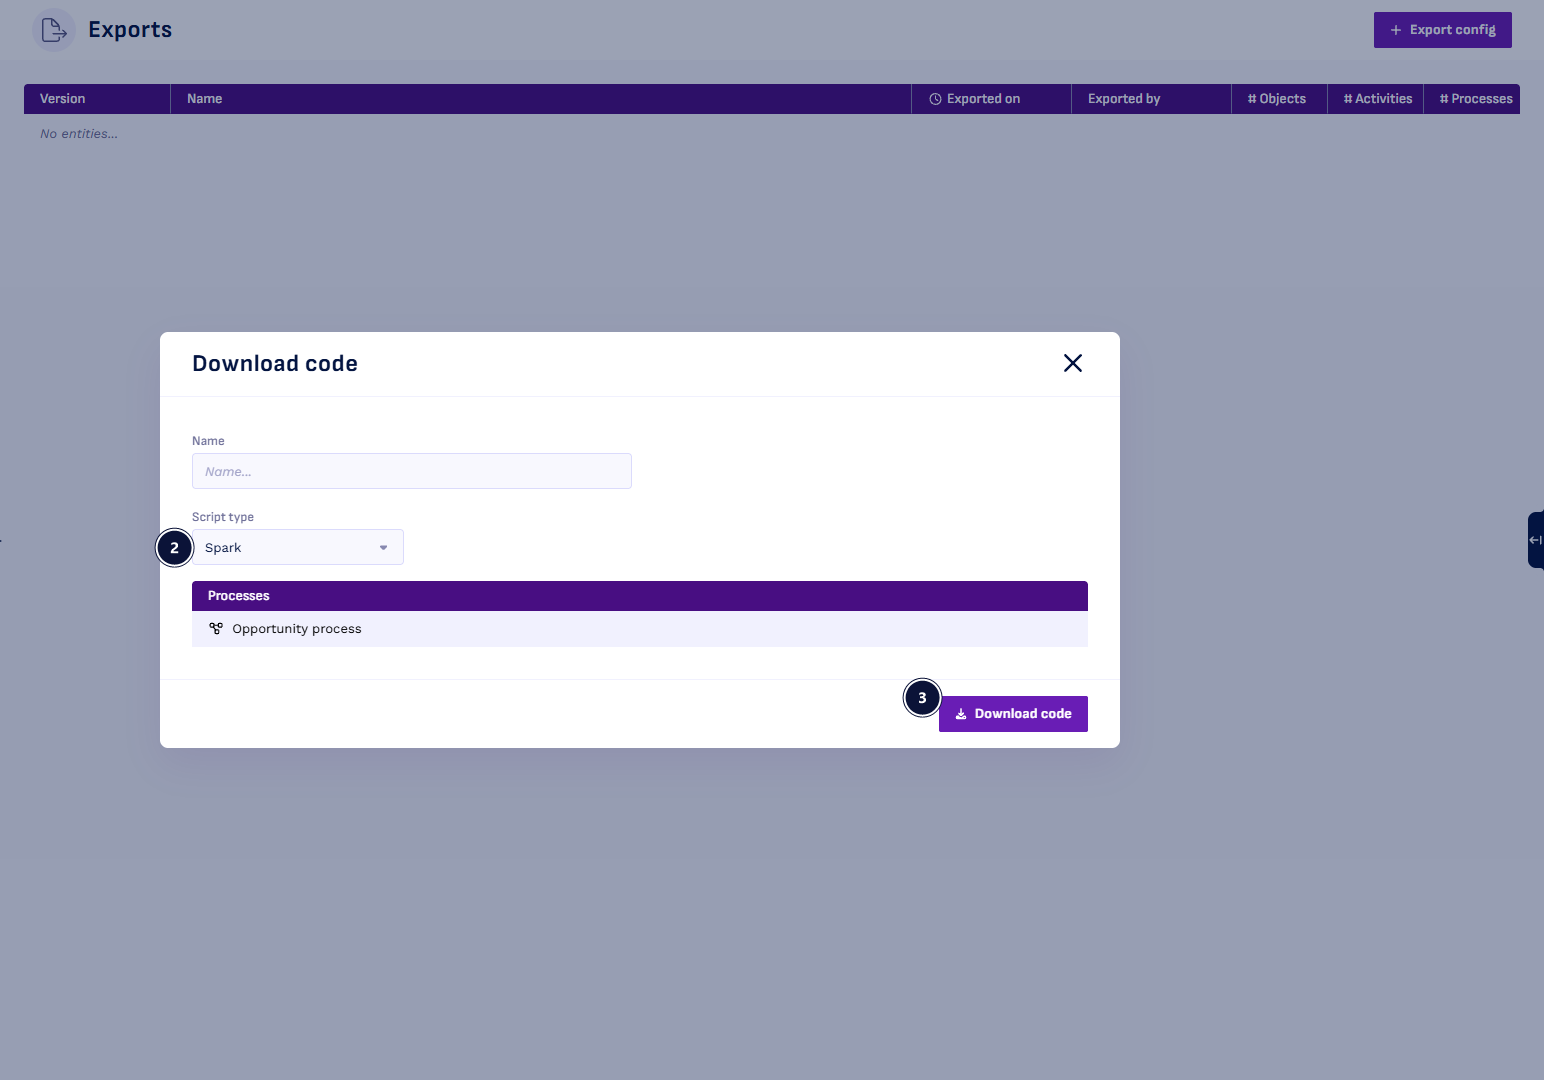
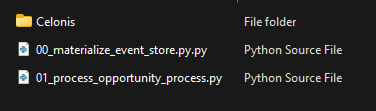
A zip file downloads with the Spark script for your event store and process.
Step 7: Export the blueprint
A blueprint lets you reuse this event store in another workspace or keep it as a backup.
- Select Dashboard in the sidebar.
- Open the blueprint menu next to ….
- Select Export blueprint.
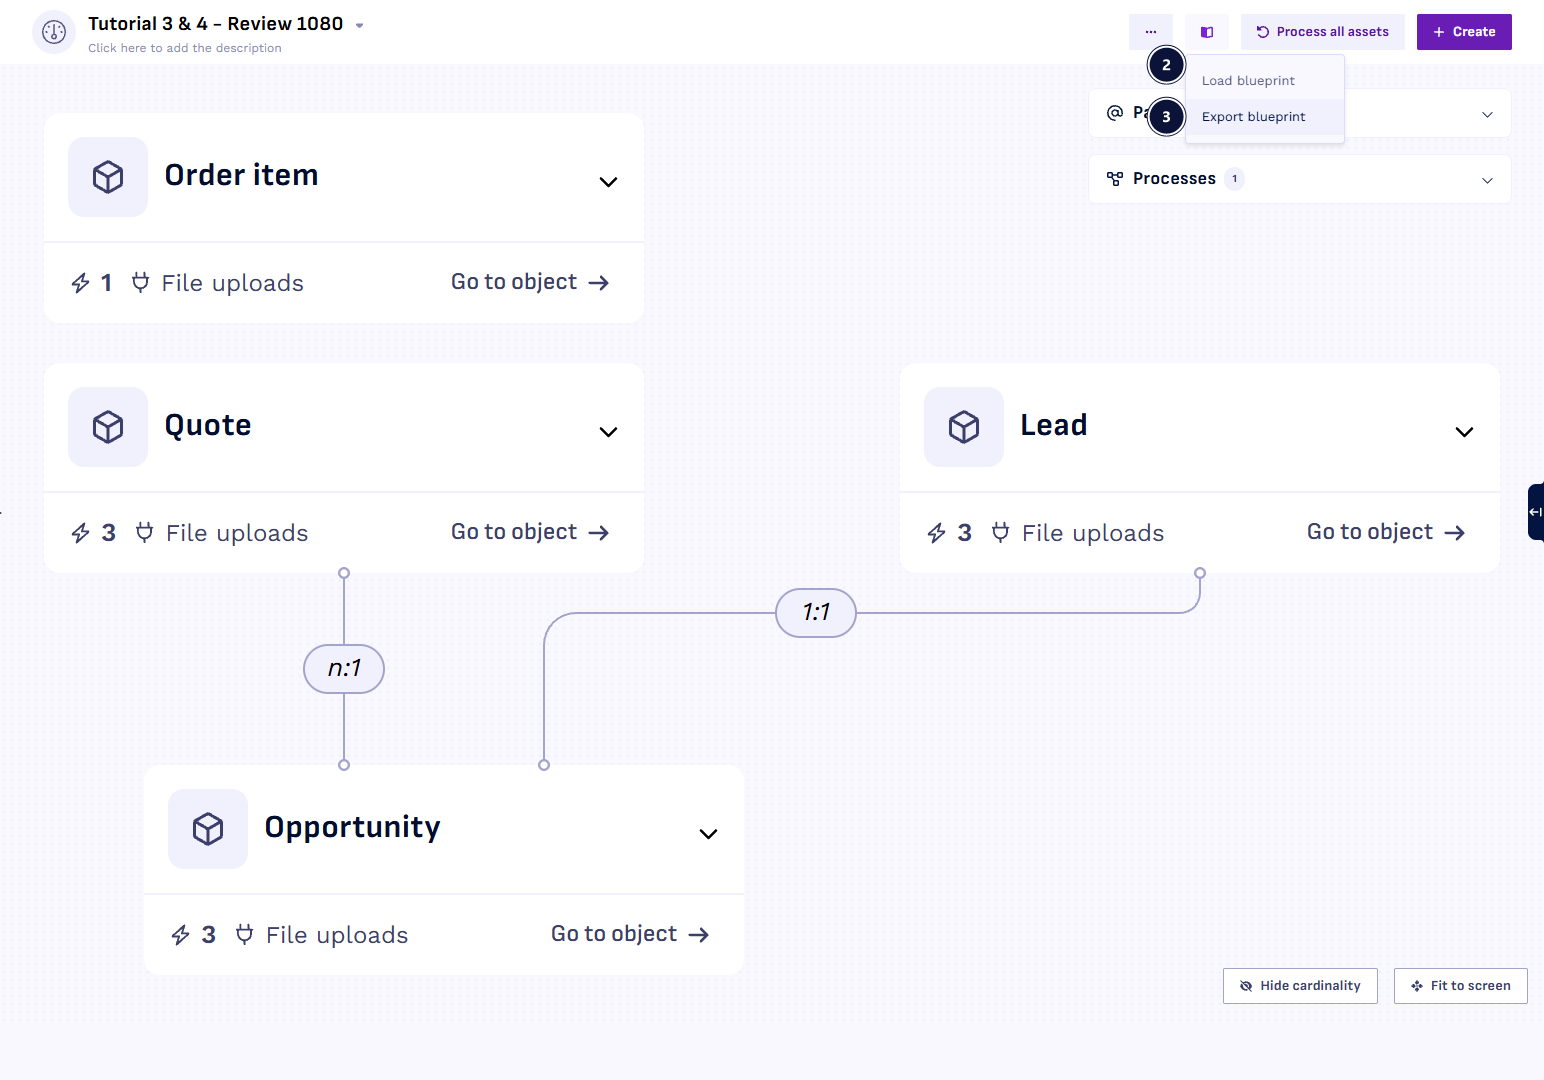
- Select Export blueprint in the dialog.
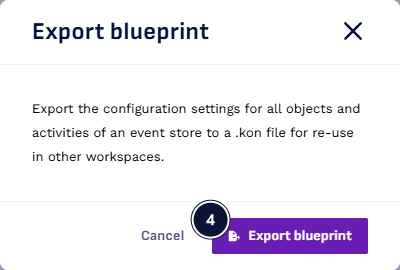
A .kon file downloads that you can load into any workspace. The next tutorial covers advanced modeling.